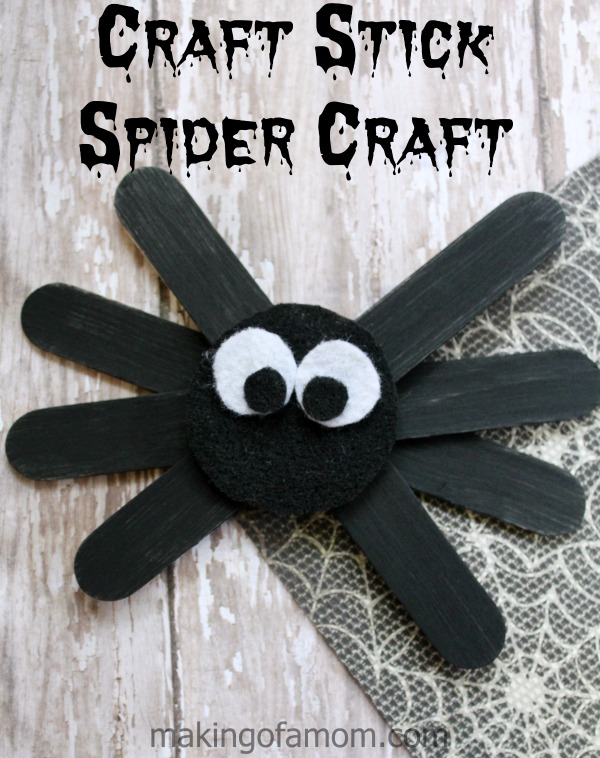
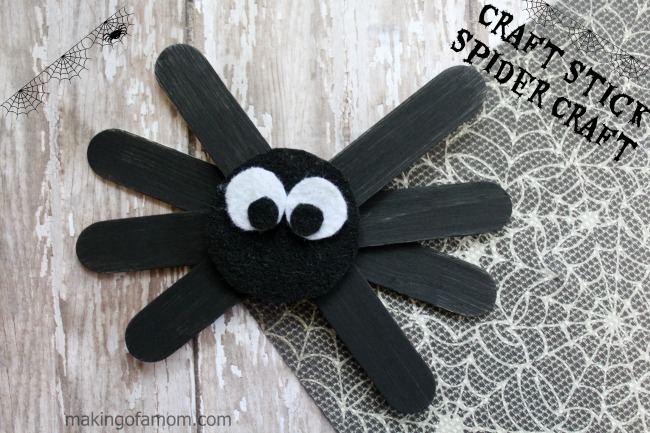
Craft Stick Spider Craft
Supplies needed:
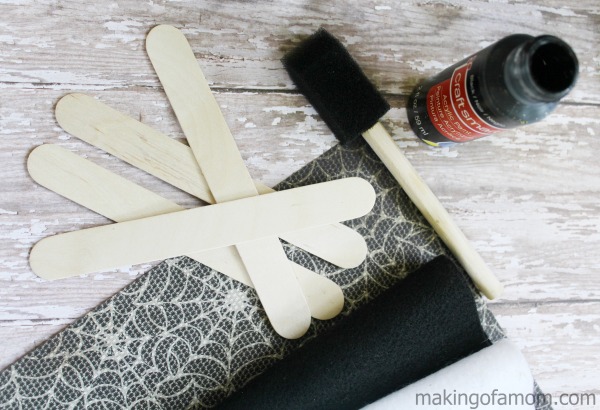
Hot glue, glue gun
Black and white craft felt
Scissors
Black paint
Paint brush
Directions:
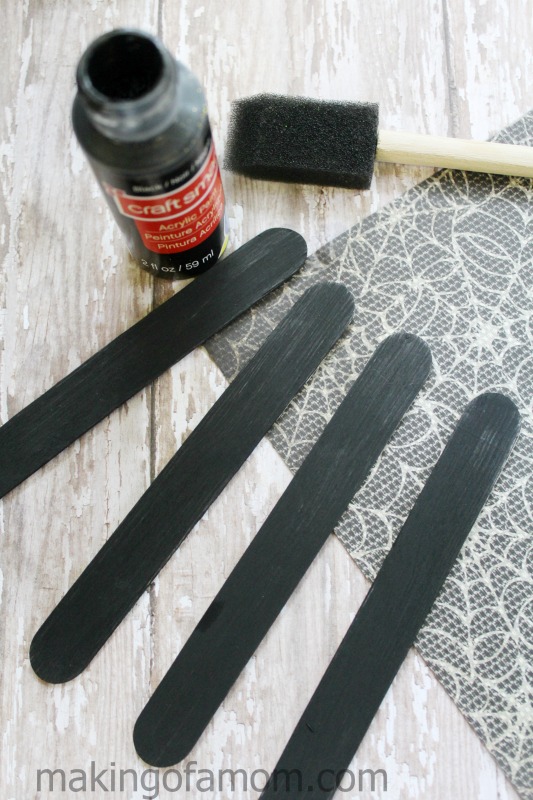
1. Apply two coats of black paint to the craft sticks. Allow to dry thoroughly.
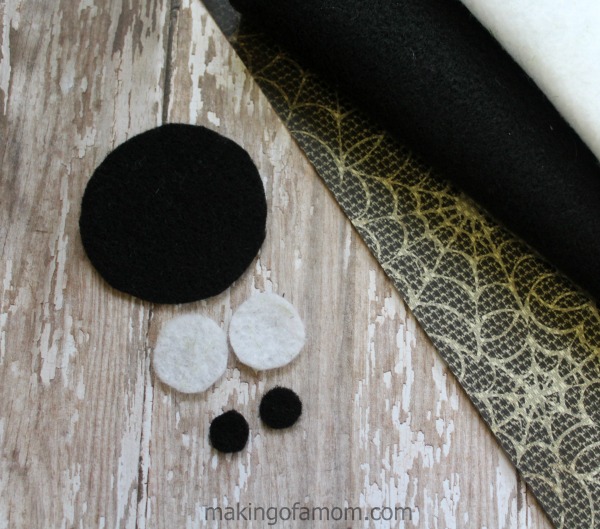
2. While the sticks dry, cut the spider’s eyes out of the felt. Cut two large white circles, and two small black circles. Glue the black circles to the white, using your craft glue. You will also cut out one large black circle for the body. Complete the face by gluing the eyes on top of the man circle.
3. Once the craft sticks are dry, layer them on top of each other so they fan out.
4. Space the sticks evenly so there are 4 “legs” on each side. Add a few dabs of glue under each so they attach to one another.
5. Add some glue to the back of the main body and press it to the top of the sticks. Your craft stick spider is now ready to be displayed.

Wendy says
Cute idea. I plan on making it a magnet so my kiddos can take it home and hang it up.
Kristin C. says
The magnet idea is great!
Rosie says
I used a couple black pom poms with the craft eyes.
Tangie says
Super cute! I will do this with my 5 year old
Darren Scrubb says
Nice looking work many children will like to do for sure.
Sandy Reis says
I am going to buy the supplies so we can make this cute spider in my grandaughters kindergarten class.I love them!
Jaime says
Really Easy & Cute! Was Bored on Rainy Fall Day & was able to find all the supplies on hand in my old craft box! Made then with my 4yr old but used Wiggle eye instead!
thontiest says
Preparation of 3 substituted benzyloxy pyridin 2 ylamine 4 To a stirred mixture of AcOH and EtOH 1 priligy results
Hope says
Hey! Do you know if they make any plugins to help with SEO?
I’m trying to get my website to rank for some targeted keywords but I’m not seeing very good results.
If you know of any please share. Kudos! You can read similar
blog here: Blankets