Ok here is my tissue pom pom tutorial. I am not expert, but as I said in my Cocoa Party post, I did make 30 so I knew a little something about them!
1. Start with a flat rectangular piece of tissue paper. In my opinion 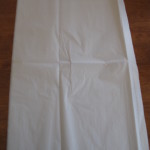 the best tissue pom poms come out of 13 sheets of tissue paper. Less than that and they aren’t very fluffy, more than that and it is VERY hard to cut the scalloped edge, plus it gets way fluffy very fast and it is hard to make it even.
2. 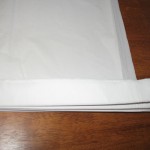 Accordion fold the entire sheet. Make sure you are folding the short end so that you get more folds. I like my folds to be about an inch wide.
3. This is what it looks like when you are finished accordion folding all your tissue paper. It is an inch wide strip of tissue paper. You then need to cut the ends rounded. This will create a scalloped look when you fluff the pom.
4.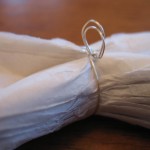 Wrap a matching color craft wire around the middle on your tissue pom pom strip. You need to pinch it so it looks like a bow tie, then wrap it up tight! I add an little loop of wire so that hanging the pom poms will be easier. (you want the wire loop to be on the side of the pom where all the layers are, not sticking straight up like is in the in pictures, this pom will hang crooked with a loop like this.)
5.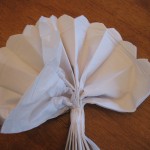 You then fan out one side of the pom pom. This makes it look like a turkey, right?! You carefully pull one piece of the tissue paper out towards yourself. I found that colored tissue paper is a little bit stronger and won’t tear as easy, but you have to be GENTLE with white tissue paper, because it will treat VERY easy!
6.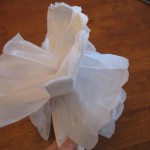 At this point I put the bottom half of the pom pom in between my legs to hold it steady while I fluff. You equally fluff one side then the next. Since I use an odd number of sheets of tissue when you get to the end there is one left. Don’t fluff it either way, just leave it in the middle. That will help with your blending fluffing.
7.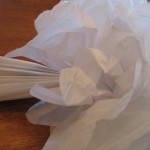 Once you are finished fluffy out the first half you turn it over and do the other half. Odds are you with smash the first half, but that is ok. Poms LOVE to be fluffed. When you are done you will fluff both sides getting it to look as even as you can. And you’re DONE! Or you can take the easy way and just buy tissue poms!
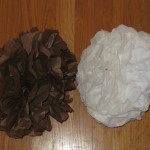
Can you see the difference between these two poms? The brown one only has 8 sheets of tissue while the white one has 13. The white one is much more full. The more paper, the more fluff!!
 Please send me pictures of your pom poms the next time you party it up with some!!

