Disclosure: I have teamed up with Frugaa.com to bring you this post. All opinions are my own.
Creating a picture wall in your home can seem a little overwhelming. How do you arrange the pictures? What sizes should they be? How are they all going to mesh together? Do the frames have to match? Let me help you answer some of these questions from my own experience. These tips work for creating a photo collage of your family or a collage of art you want to hang.
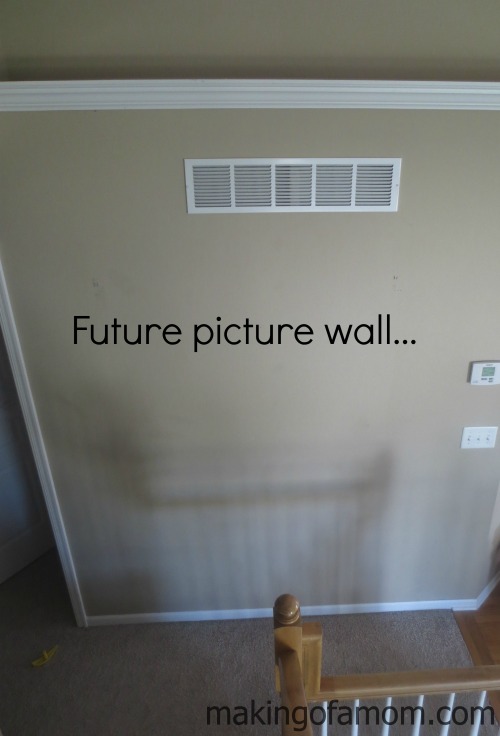
1. Choose a large or prominent wall in your home where you want to feature your family pictures or the art collage. In my home we have very tall ceilings so I have several walls that would work, but I went with the wall that is right in front of you when you walk up the stairs to the kitchen. This wall is visible in the living room, dining room and when you are headed to the basement. Since it is so visible I thought it was the perfect place to display my cute family!

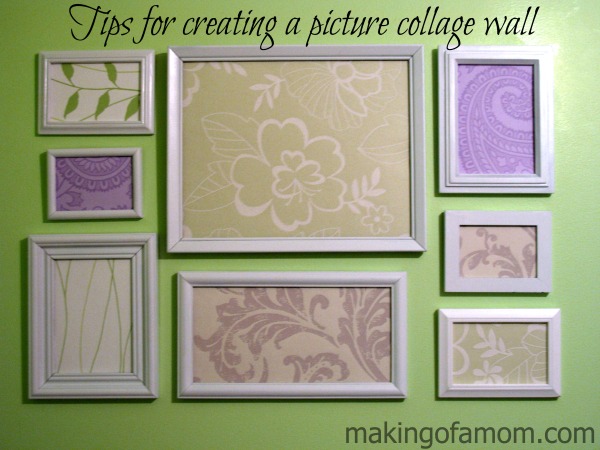
In my last home I created a collage wall in my daughters bedroom. I had found several wall papers and wrapping papers I loved, framed them in different sized frames and hung them in a cute arrangement. You can get creative with a picture wall!
2. Choose the pictures you want to display. My suggestion is to choose 5-10 pictures of varying sizes (or whatever type of picture you are hanging). Also, these pictures don’t have to match (meaning, they don’t all have to be from your most recent family photo shoot). It’s great to mix and match and capture different ages of your children. If you are also adding artistic photos, or just making a collage of art that is great. Also have different sizes and where appropriate different styles of frames.
Since I am currently working on creating a family picture wall I decided I wanted to have all my family photos be in canvas. This can be expensive so I searched the internet and found some great offers to get all my pictures done by Canvas on Demand with some big savings!
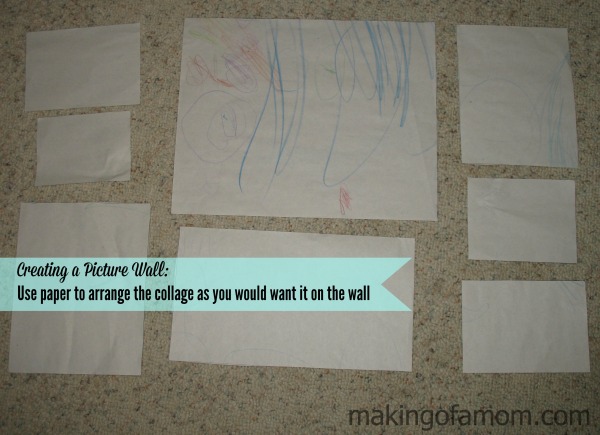
3. Now that you have your pictures chosen and know the sizes of each we are going to create a mock-up of the wall arrangement. You will need to recreate the pictures by using paper. Cut a piece of paper the same size as your pictures. We will use these papers to help us make the perfect arrangement. I like to start on the floor arranging and rearranging the display. Once you have something you think you like, get out the tape, it’s time to stick it to the wall. The benefit in getting things perfect with the paper is that you will avoid unnecessary nail holes and be able to measure to get things in the exact place. Taping it to the wall ensures that you still like the arrangement on the wall. What might work on the floor may not work so well vertical on the wall. Maybe it doesn’t take as much space as you need, or it takes up too much space. Keep working at it until you love it!

4. Measure twice, nail once. Ok usually the phrase is “Measure twice, cut once” but since we aren’t cutting, just nailing it still applies. Use a pencil to mark your walls so you know where to put the nails.
5. Hang ten, or however many pictures you are putting on the wall. This wall will now become a focal point in your home. Your visitors will want to look at it and you will want to look at it! It is so much fun to display your kids’ and family pictures in a fun and creative way so enjoy!


Steph @ Cookin' Cowgirl says
I’m did this in my home with the frames on the floor, like you have the paper! Such a good tip! Pinned!
Alea says
Great tips! I put up these not long ago and went about it the same way.
Kelsey Jones says
I created a picture wall up our stairs and I love it! I enjoy adding to it when I find the “perfect” addition, which only comes around once or twice a year!
Megan @ Fiterature says
This is perfect timing! I have a wall I need to tackle and have been SUPER intimidated that I will screw it up! This is super helpful!