St. Patrick’s Day is here so here is a quick little treat bag idea for all your little friends.

We just got some sketch pens for the Silhouette and so we decided to try them out on the Silhouette Portrait for this project.

There are 4 main steps in this project:
Step 1: Print
The first thing you need to do is print bag tags using your printer. This will only print the chevrons, white text bubble, “I’m”, “to be your Friend” and the registration marks (the black square and the squared lines in the corners that the Silhouette uses to line up the paper in the right spot).
![]() To print you can either click the ‘Print’ button or the ‘Send to Silhouette’ button and on the right hand side in Silhouette Studio you can see the Print Image options where you can ‘Click here to print’ or ‘Click here to skip printing’. After printing is complete you can click ‘Continue’.
To print you can either click the ‘Print’ button or the ‘Send to Silhouette’ button and on the right hand side in Silhouette Studio you can see the Print Image options where you can ‘Click here to print’ or ‘Click here to skip printing’. After printing is complete you can click ‘Continue’.

Step 2: Sketch
Now we will use the Silhouette to add the shamrocks and the word “Lucky”. At this point switch out the cutting blade and put in a sketch pen. After putting the page you printed on a cutting mat and loading it into the machine you can start the ‘cut’ (sketching) process. Now on the right hand side under the Send to Silhouette option you can click ‘Continue’ when the mat is in the machine. Now you should see the Cut Image option and this is where those registration marks come in. In order for the Silhouette to know where to cut or sketch in the right place it needs to know where to start. When you click ‘Detect automatically’ the Silhouette will look for the registration marks and once it finds them it will go to the correct starting position. After that the Cut Image options should come up and you will want to click ‘Change settings ?’ to set the sketch pen options.

Here is a screenshot of the sketch settings for this project. The Speed was set to 5, Thickness to 10 and switch from Blade → Sketch Pen.

Don’t forget the change from Blade to Sketch Pen.

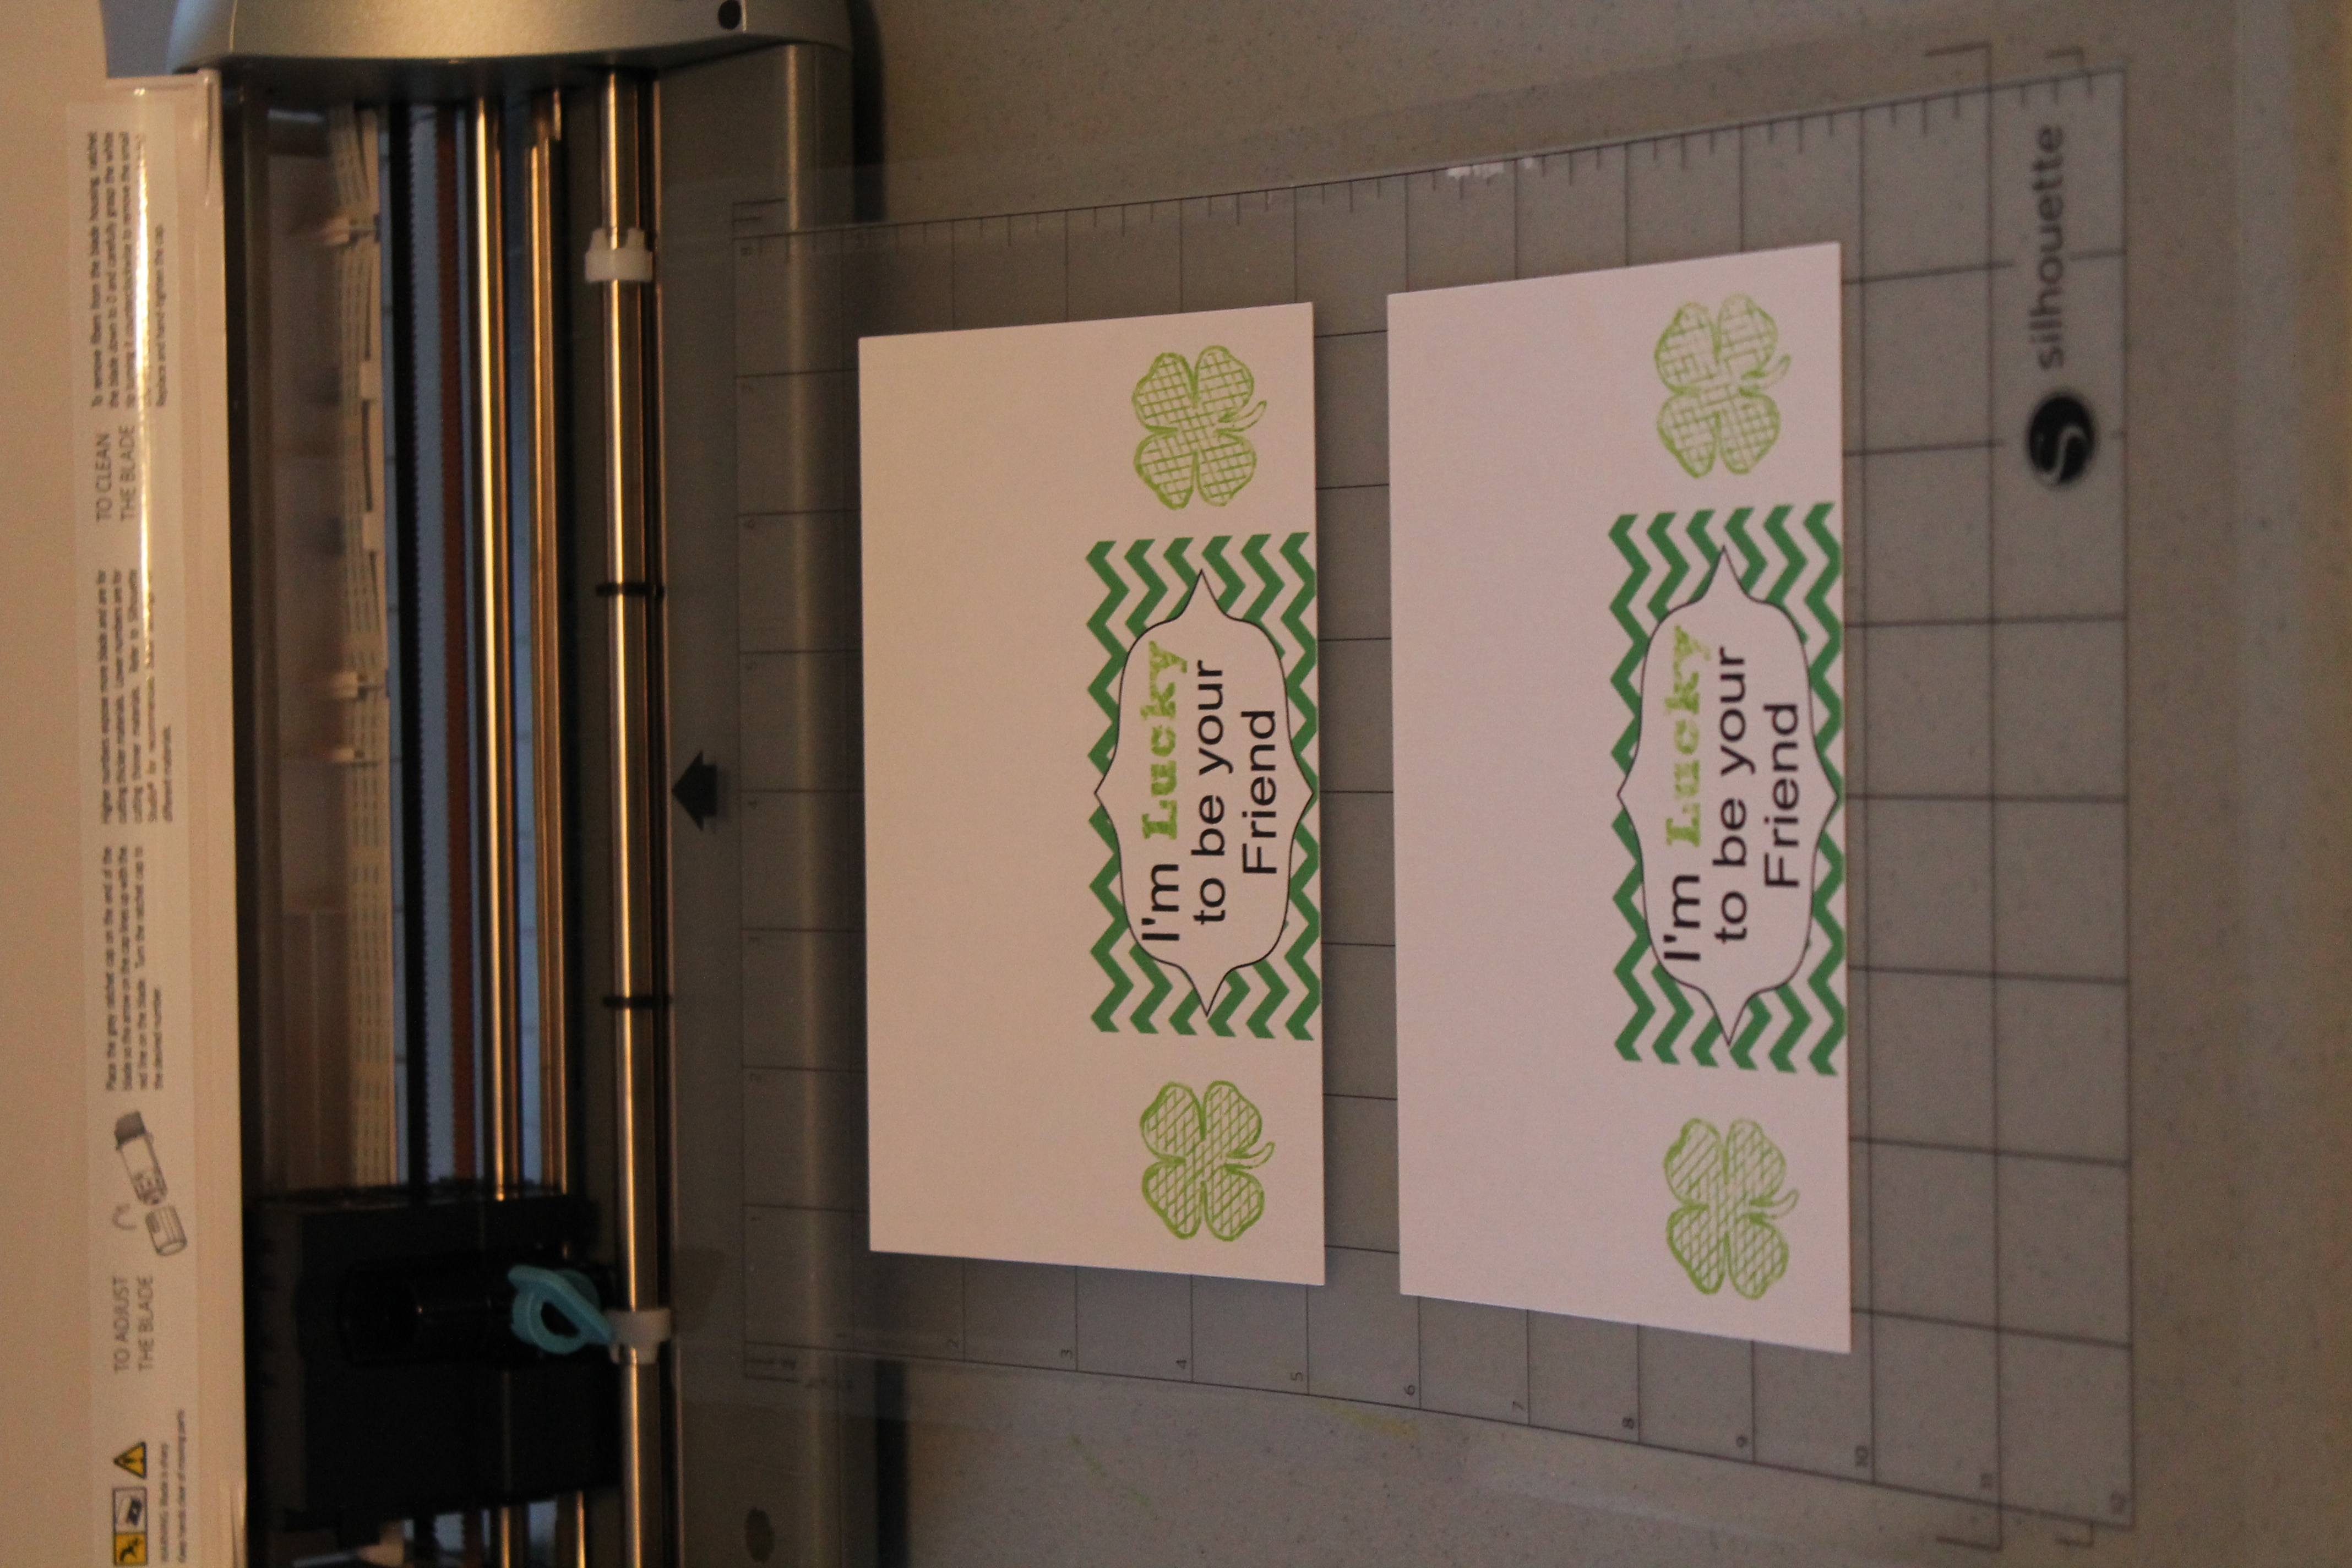
And here is the result after sketching.

Step 3: Cut
The final step is to cut everything out. The bag tags are just simple rectangles and could be cut out using a paper cutter but what is point of having a cutting machine if you don’t cut stuff out with it. I decided to make two files in Silhouette Studio one for sketching and one for cutting. Go ahead and switch out the sketch pen and put in the cutting blade. There are two methods for going through the cutting process. 1) After sketching, switch to the cut file and click the ‘Cut Again” button, the silhouette will detect the registration marks and then cut it out or 2) Switch to the cut file after sketching and click the ‘Send to Silhouette’ button and go through the whole cut process like in the Sketch section above. I went through both methods with the same result each time. The cut settings will very depending on what kind of paper is being used. For this project is use regular 8.5 x 11 white cardstock, the Speed was set to 7, Thickness to 30 and switch from Sketch Pen → Blade.
Step 4: Assembly
Now for the assembly. Fill up a snack bag with lucky charms, fold the bag tags in half, staple the tag to the top bag and you’re done
Printable Download
– clicking the link will take you to the pdf that you can save to your computer and print to make your own
| St. Patrick’s Day Snack Bag Printable |
Cut File Download
| St. Patrick’s Day Snack Bag Silhouette Files |
Silhouette has monthly promotions. Visit the Silhouette store for bundle deals and sales on special materials. You must have a discount code for special sale pricing to apply so use code MAKING for great deals!


cathy says
Love, love this! Super creative! We are gearing up in green for St. Patrick’s day and celebrating it with a sweet shamrock shake! I would love for you to stop over and check out my shamrock shake recipe! 🙂
Cathy
CJ Huang says
What a fun little printable for your snack bags!
Lorelai @ Life With Lorelai says
What a cute idea! And I love Lucky Charms… LOL Please come share your blog posts over at the Home Matters Linky Party! We’d love to have you for a visit. The Door is OPEN. http://lifewithlorelai.com/2015/02/26/home-matters-linky-party-26/ 🙂
~Lorelai
Life With Lorelai
Lazaro says
This website was… how do I say it? Relevant!! Finally I have found something which helped me.
Thank you!
Samantha Plotkin says
These are so cute. Thanks for sharing!
lindsay henige says
Very cute!
Laurie Emerson says
I absolutely love these. My daughter’s birthday is on St. Pats day. I am going to make these for her party!