The Back Story
Every year for Valentines Day my dad would make each of my brothers and sisters a homemade valentine. These homemade valentines were not a piece of paper folded in half with some sentimental saying inside. He would personalize each one with a drawing of something we were interested in, whether it was super heroes for me and my brothers or my little ponies for my sisters. My Dad has started give his special valentines to my kids each year. Since I am a child of the computer age (and my drawing skill s are some what lacking), I decided this year to make homemade cards using the brand new silhouette.
My Daughter: Hello Kitty Valentine Card
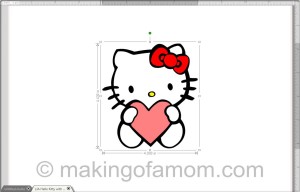
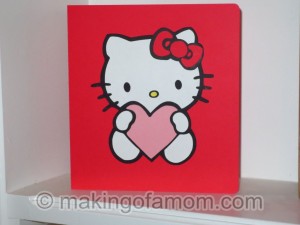
One of the many things that my daughter is interested in right now is Hello Kitty and since I have seen a couple of silhouette tutorials for Hello Kitty projects, I decided to make her a Hello Kitty Valentines Day card. The first thing I needed was a picture of Hello Kitty. I saw a tutorial where someone took a coloring page picture of Hello Kitty, used Silhouette Studio to Trace the image, clicked Remove Compound Path and then separated out the different pieces to cut out. I decided that going through that whole process was a lot of work so I decided to search for a free Hello Kitty SVG file, after a quick search I was able to find a SVG of Hello Kitty holding a heart (Prefect!). I opened the SVG file in Silhouette Studio (note: SVG files can only be opened in Silhouette Studio: Designer Edition).
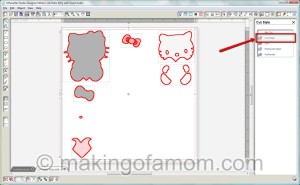
I had to ungroup the picture so I could separate all the different colored pieces. I saw a tutorial where someone cut out all the different colored paper for one project using one cutting mat. I separated all the pieces and put them in same color groups (I use the Fill Color to change the white parts to grey so they would show up against the white background).
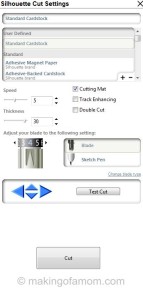
To cut out all the pieces, I selected them all with Ctrl+A then used the Cut Tools to put a cut lines around each piece.
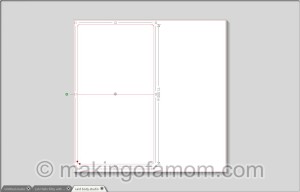
For the card itself I made a rounded corner box that was 11 in x 6 in, with a perforated line down the middle.
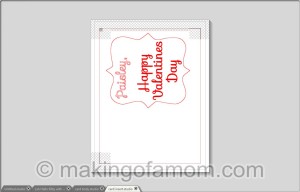
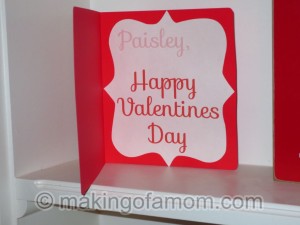
For the inside of the card I made a 5.5 in x 5 in rectangle and put the words inside. To be able to print the words you have to fill them with a color.
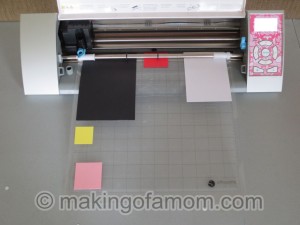
I cut out colored squares that would be big enough for each shape to fit inside and put them on the cutting mat. If you go to the Page Settings, you can Reveal Cutting Mat to see how big the colored square needs to be for your shape. the first time I just guessed on the positions of my shapes in relation to the cutting mat and ended up with some cuts that went outside the paper.
I found that if I rounded up my measurements to whole inches it’s a lot easier to line them up on the cutting mat and that the shape would fit inside.
- Black – 7 in x 5 in
- White – 5 in x 4 in
- Red – 2 in x 2 in
- Pink – 2 in x 2 in
- Yellow – 1 in x 1 in
Once everything was cut out, I glued it all together and here is how it turned out
Here is the download for the cut files, included is the Hello Kitty, card body and the insert on the inside of the card.
Silhouette has monthly promotions. Visit the Silhouette store for bundle deals and sales on special materials. You must have a discount code for special sale pricing to apply so use code MAKING for great deals!
Last week’s tutorial was how to make a Valentine Pixelated Popup Heart Card for Valentines Day.
Have an idea for a project you would like to see as a tutorial, leave your idea as a comment or send an email.

