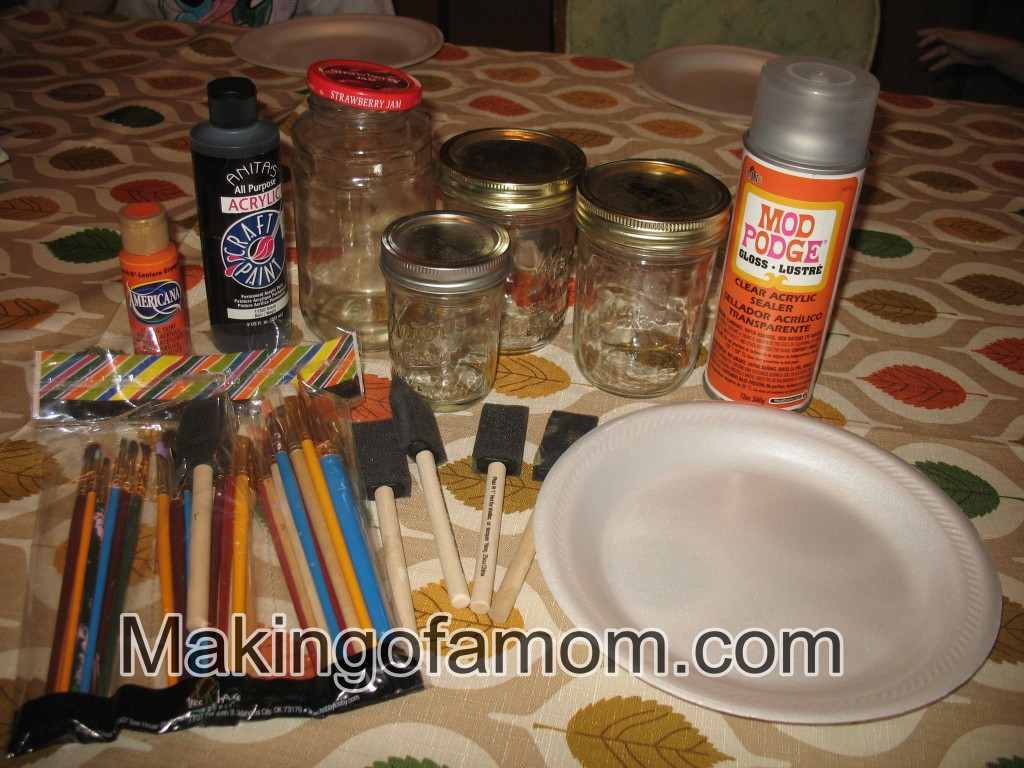
So one of my favorite Halloween crafts is making Pumpkin Jars! I love these cute pumpkins because unlike real pumpkins they are not going to rot! They will be as cute in a month as they are the day you pain them! Here is what you’ll need for this easy craft:
- Glass jars of different sizes. I only had a jam jar laying around so I went to Goodwill and bought 3 more. 1 for everyone in my family.
- Orange and Black paint. We used acrylic because that is what I had on hand.
- Paint brushes- both foam and regular.
- Spray Mod Podge
- LED tea lights
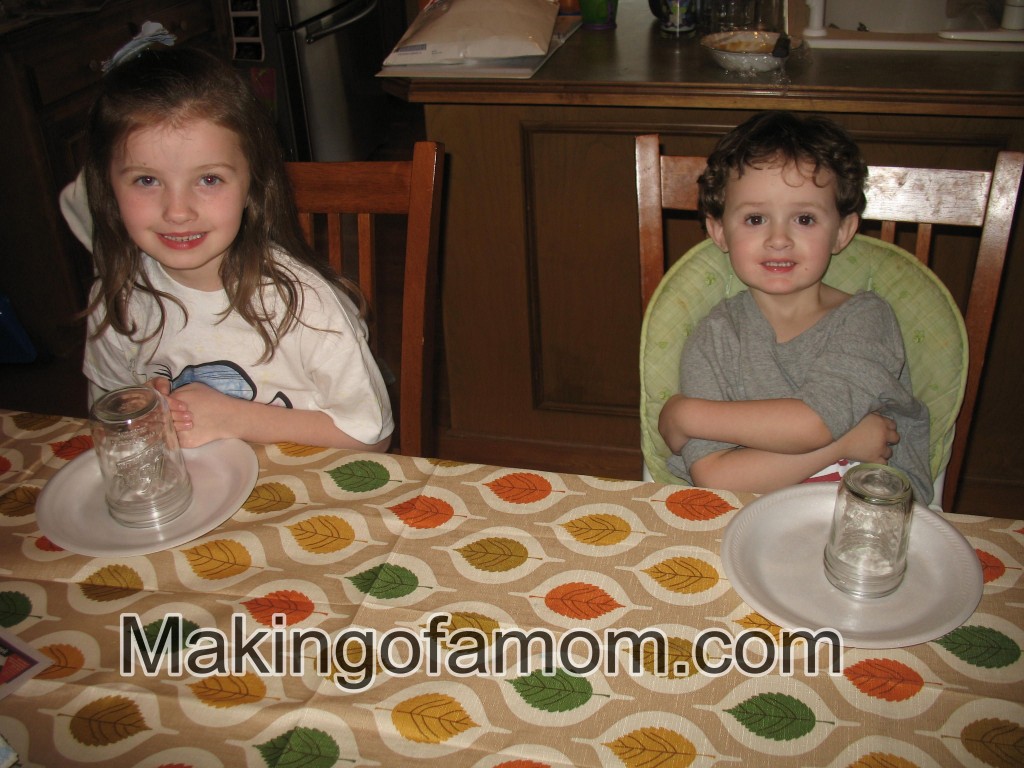
Get ready to paint by putting on some clothes you don’t care about!!
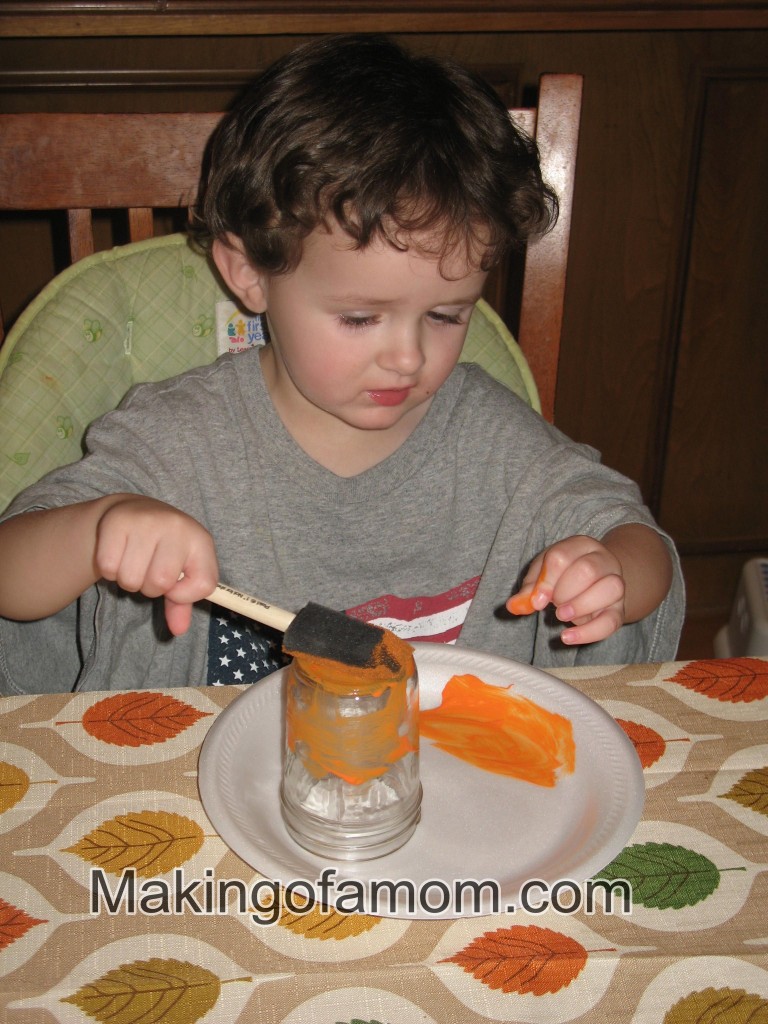
First you paint the jars orange. We found it easier to turn them upside down and paint them that way. The paint will go on streaky but that is ok because you want the led lights to be able to shine through the glass anyways.
While the orange paint is drying you can paint the lids black ( we did black, you can use green if you’d like)
All of this took several hours to dry so we went and had family movie night while we waited.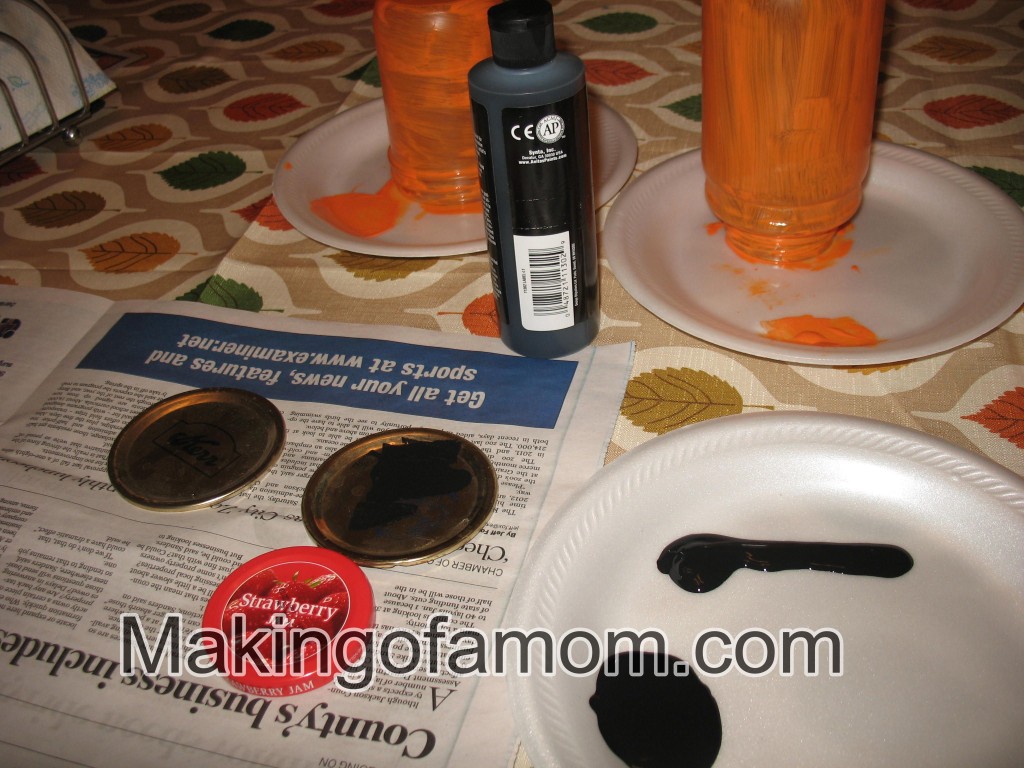
After the orange paint is dry it is time to add faces!! We looked up some pictures online so we could have sever different types of pumpkin faces.
We left our pumpkin faces and everything to dry overnight. The next morning I took the jar outside to spray with the mod podge. I think this is vital to the jars lasting. This mod podge seals the paint and the jars and protects it from the elements. After all these jars are going to be sitting on our front porch for several weeks so they will have to deal with cold, wind, rain and sun. It’s better to seal them up so they stay looking nice and new! I should have put a newspaper under the pumpkins when I sprayed because I now have some light rings on my stone porch.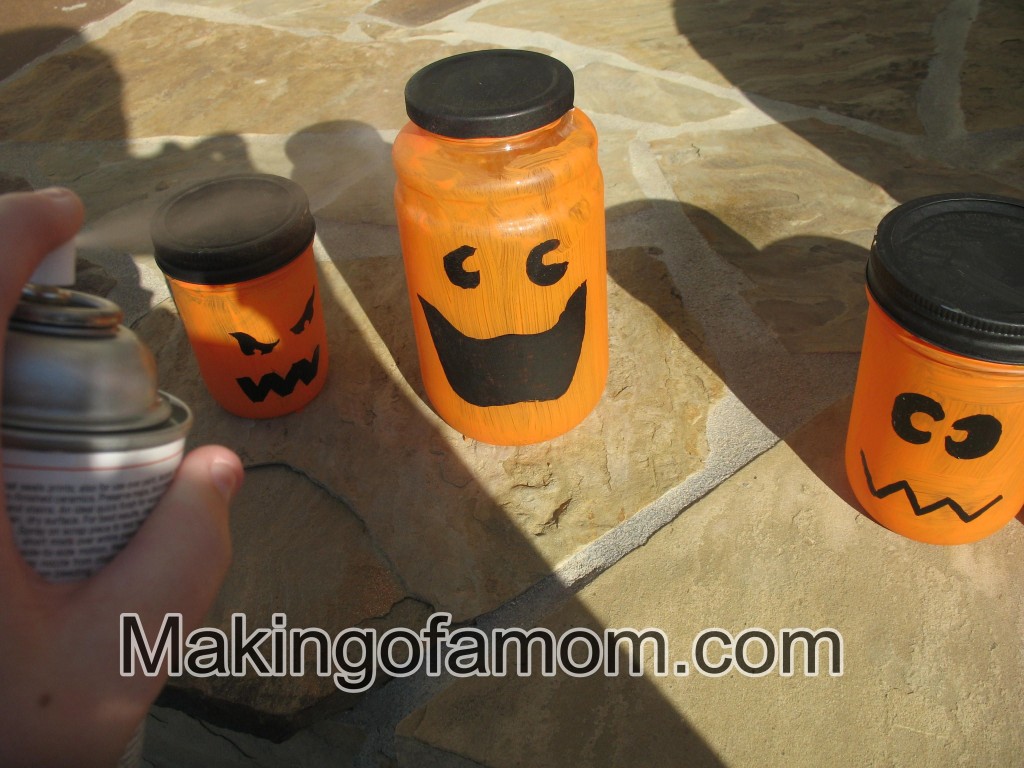
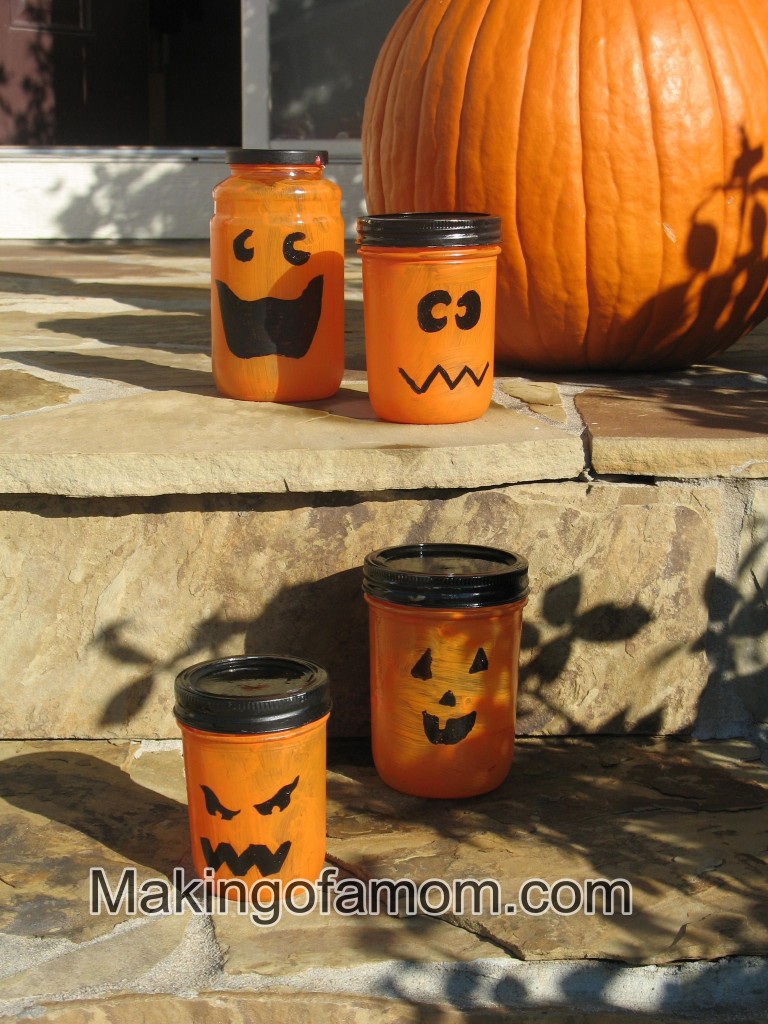
During the day they are a welcome site on the porch, but at night with the LED tea lights on they turn a little bit spooky! I love these lights because they flicker like a real candle. So Cute!


[…] Pumpkin Jars Tutorial – Making of a Mom […]