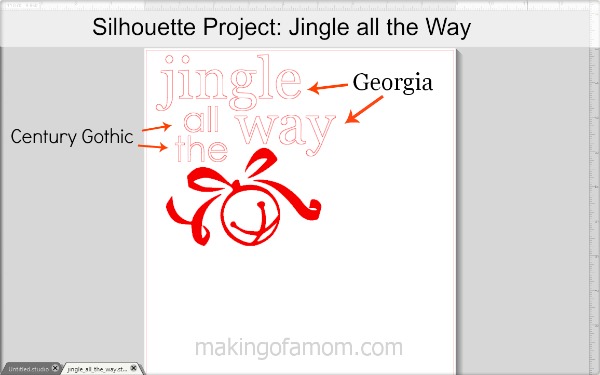
Stefanie found this cute craft on pinterest and asked me to create it for her. First I had to find a svg file of a jingle bell that I liked (and that she liked). Then for the words I used two different fonts, Georgia for ‘jingle’ and ‘way’, and Century Gothic for ‘all’ and ‘the’.
Next, I set the cut settings by finding the Silhouette Vinyl option
Silhouette Tip: If the cutting blade in the machine is getting dull and doesn’t cut well the blade setting can be increased by 1 for better cutting. (ie if Silhouette Studio suggests a blade setting of 2 set the blade to 3)
After a year Silhouette projects the Cameo blade isn’t as sharp as it use to be so I usually increase the blade setting by one. Also, I always do a test cut before I start cutting my project. Using the test cut arrows I move the blade a little to the right and little bit down and click the test cut button to make sure the blade cuts all the way through.
After the vinyl is cut, peel off all the excess vinyl leaving only the words and the jingle bell on the backing. Then cut a piece of transfer paper roughly the same size as the vinyl backing. Peel off the transfer paper backing and put the sticky side of the transfer paper on the vinyl. Transfer paper usually comes with a popcile stick that you can use to rub the transfer paper over the vinyl to make sure it sticks to the transfer paper. Peel off the transfer paper and all the vinyl should be stuck to it, if something is left behind on the vinyl backing put the transfer paper back over it and rub it a little bit more so it comes off.
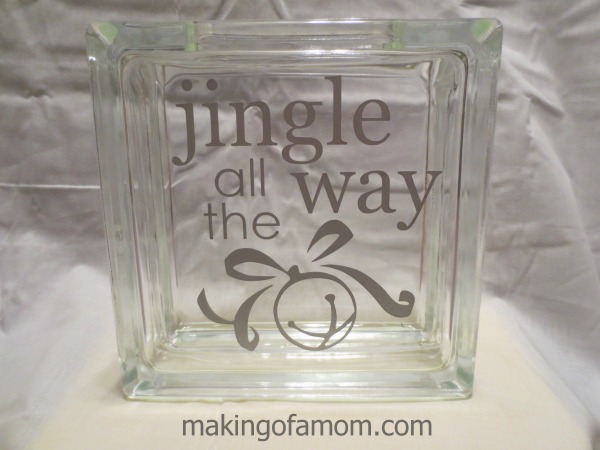
Once the vinyl was on the transfer paper I put it on the glass block and rubbed the vinyl so it was stuck to the glass black. I slowly peeling back the transfer paper and all the vinyl was on the glass block.
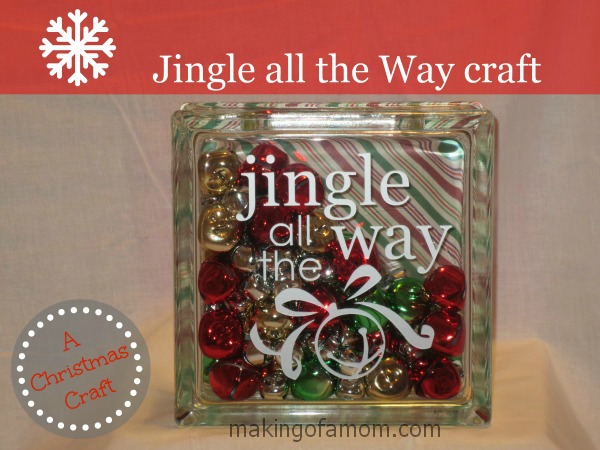
All that was left to do was fill it with bell and cut out a square to glue on the back of the glass block.
And if you want to add another finishing touch you can put a ribbon around the block to make it look like a present.
*If you need help cutting on the Silhouette, please visit our 4 easy steps to cutting on the Silhouette.
Silhouette has monthly promotions. Visit the Silhouette store for bundle deals and sales on special materials. You must have a discount code for special sale pricing to apply so use code MAKING for great deals!
The last tutorial was How to Cover Your Light Switch Covers.
Have an idea for a project you would like to see as a tutorial, leave your idea as a comment or send an email.


Margarita says
Just adorable and so smart to add the designer paper to the back of the block. Is that cut and applied directly to the back of the block or is it slipped in the inside of the block?
Stefanie says
The paper is just glued on the back of the block! Easy peasy! Thanks for visiting!
Linda says
So… I have been wanting to make a jingle bell glass block forever and I can not find a jingle bell to download, can you tell me where you found your please???
Jason says
Hi, thanks for visiting. You can purchase this at the silhouette store. Since it was a purchased item I can’t include it on the blog
Shirley millssp says
How do you keep the jingle bells at a slant?
Shauna says
Did you use modge podge to glue on the paper? Did you use glue on the whole thing or just edges?