Sand art is a fun, economical craft that children and adults alike can enjoy. The best part is, you don’t need a whole lot of special supplies to do it. While there are premade kits you can purchase, you’ll find your craft budget goes much further if you scavenge your clear containers and produce your own colored sand.
Coloring sand may seem like a challenge, particularly if you are not especially crafty to begin with. In actuality, it’s easier than pie, and there are two methods so you can choose the one that seems simplest to you.
Coloring Sand with Food Coloring
The first method of coloring sand involves using liquid food coloring. You may also use gel food coloring to get a wider range of colors, but you will need to dilute the gel with water to form a liquid first. You will need:
- Several plastic containers that you don’t mind staining, depending on the number of colors you want to make
- White play sand
- Food coloring
- Water
- Tea cloth
- Colander
- Several cookie sheets that you don’t mind potentially staining
- Paper towels (optional)
- An oven (optional)
Begin by dividing your play sand evenly between your containers. Add just enough water to each container to cover the sand. Begin adding food coloring, one or two drops at a time, until you have achieved the desired color. Stir sand to completely incorporate color.
Place the tea cloth inside your colander to catch the sand and pour in the sand to drain the water. If you are using an oven to accelerate the drying process, spread the sand on the cookie sheets in a single even layer and place it in a 250°F oven. Don’t get distracted by the TV or your website redesign just yet – it only needs to be in there for 5 to 10 minutes!
If you are not using the oven, line your trays with paper towels and spread the sand evenly to dry. If desired, you may use an additional layer of paper towels on top to help absorb moisture. Once the sand is completely dry, it is ready to use in sand art.
Coloring Sand with Tempura Paint
This method for coloring sand is often preferred because it uses all dry ingredients. Therefore, there is no additional drying time necessary. You will need:
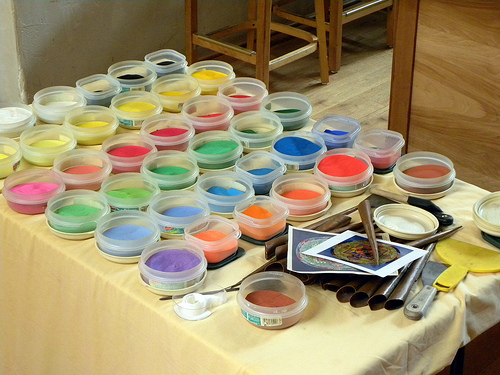
- Several plastic containers, based on the number of colors you want to make. Use small storage bins with lids to mix and store in the same container.
- White play sand
- Various colors of dry Tempera paints
Divide your sand evenly among your containers. Add dry Tempera paint one teaspoon at a time to achieve your desired color. The more paint you add, the darker and more vivid the color of the sand will become. If you add too much color, you can always lighten the tone again by adding more uncolored sand.
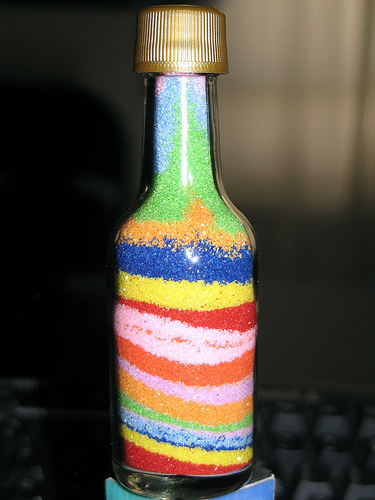
That’s it for this method. Your colored sand is ready to use. With both methods, be sure to store unused sand in a sealed container to preserve color and keep out impurities. Have fun creating vivid works of art with vases, baby food jars, mason jars, unusual bottles, or anything else your creative mind may think of.


Nicole says
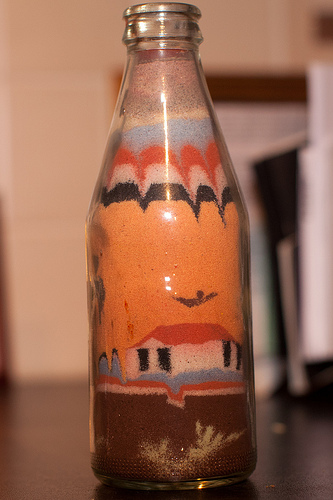
Although I never colored sand (use to buy it really, really cheap) I do recall making such sand art in bottles when I younger. It was so much fun and loved doing it! The last pic is amazing. Did you make that??
Stefanie says
I did not make it. This wonderful article is from a guest blogger. I do agree that those are beautiful completed projects though!