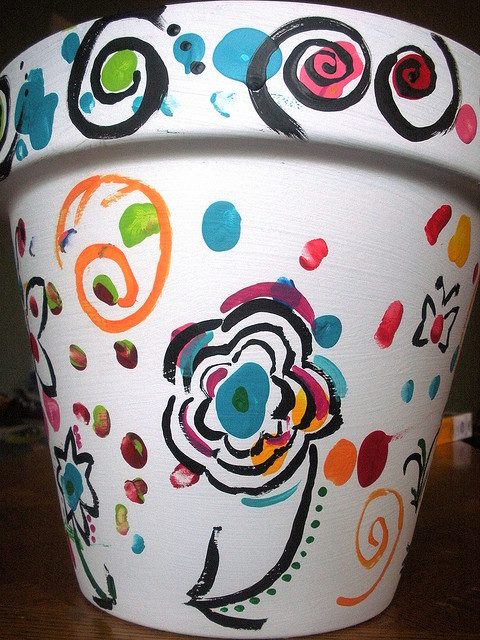
It seems like spring can’t get here soon enough. This has been a particularly long, brutal winter and unfortunately, there’s still more to come. You know it’s been bad if the kids are tired of snow days, too! However, it’s never too early to start thinking about those warm, sunny, flower-filled days to come. A great way to chase away those winter blues is with a bright, colorful and easy-to-make flowerpot craft.
The beauty of a project like this is that it’s great for all age levels. Kids from toddlers to teens will have fun with this project. Even you will enjoy making your own flowerpot!
Gather Your Supplies
You will need basic materials for simple flowerpots. But you can add more items for more intricate designs based on the ages and abilities of your children. Basic supplies include terra cotta pots, acrylic paints of all colors, paintbrushes and foam bushes of various sizes, sponges, stencils and acrylic spray. Also, you’ll need newspaper to protect your work surface and make sure your child’s clothes are protected from the inevitable splatters!
Basic Painting
You have options here, which is what’s so great about projects like this. If your child wants to start with a white surface, you can paint the pot with some primer, which will provide a beautiful backdrop for your child’s designs. Or, your child can simply paint directly on the pot itself.
Make sure you have large brushes for painting large surfaces and smaller brushes for designs. Your child has the option of freehand painting, which encourages creativity. Colorful polka dots are easy for small children to make; stripes and zig-zags may appeal to older kids. You can also use sponges, which your child can dip in paint and stamp on the pot, or create unique designs. Just let them use their imaginations!
Add Flair With Stencils
A great way to create a beautiful design is with stencils, which are great to have on hand for all kinds of kids’ projects. Paint the pot a solid color, let it dry completely and then use stencils to add a great finishing touch. You can also leave the pot in its natural state and decorate it with tons of stencils. Make sure the stencil is secured in place; then carefully trace along the outside with a thin paintbrush until the design is complete. Have your child paint the stenciled design any way they’d like. Spell out words, cover with ladybugs or bees – it’s all up to your child!
Create Cool Designs
Another fun option is to decorate the pot with stickers or taped-on, cut-out images. Apply them to the pot and paint around or over them. You can have a herd of animals running around the pot, a ton of flowers or numbers and letters. When you remove the stickers or images, they will stand out and look wonderful! Your child can even paint eyes on animals or make tiny dots and decorations on the resulting images.
Finish and Display
When the flowerpots are finished and have dried completely, you can spray them with clear acrylic spray to seal the design. Your kids may have so much fun making tons of flowerpots, you’ll need some hefty power systems to cart them all outside! As long as they’re keeping busy and having fun, it’s OK. You’ll have plenty of options to plant those long-awaited spring flowers in when the weather finally warms up, and you’ll all enjoy your colorful and crafty flowerpots.
Adrienne is a freelance writer and designer. You can see more of her work on Twitter at @adrienneerin or on her blog, Design Roast.

