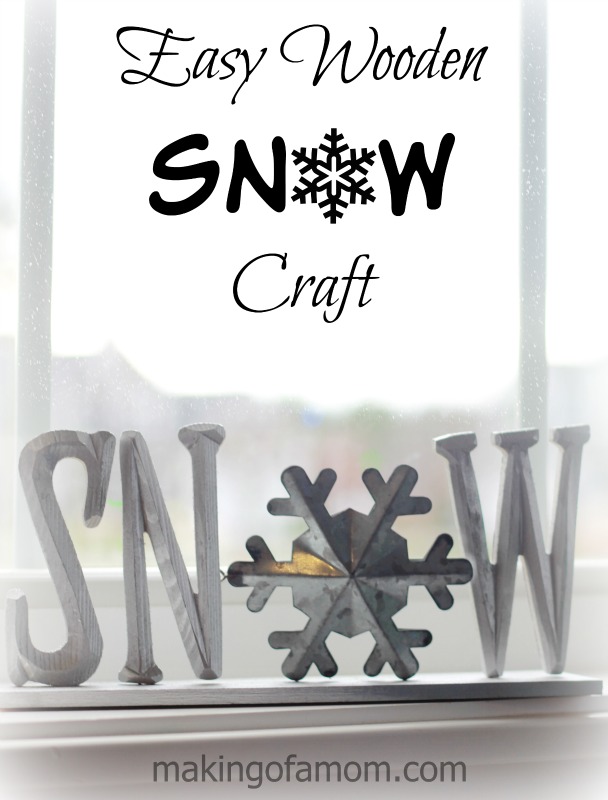
Materials:

- Wooden Letters – choose the style you like S, N and W.
- Metal snowflake- find this at the craft store as well (a white or colored one would be fun too- or gold- YES!)
- 3-4 nails (if you decide to use them instead of wood glue- they are a bit more secure)
- Hammer
- Wood Glue
- Spray Paint (Silver)
- Small Wood Piece- can use scrap wood or these small ones come in a 2 pack at most craft stores
Tutorial:
Step 1: Line up your letters and your snowflake on the piece of wood. Draw a line with your pencil where the bottom of each letter meets the wood. (Try and place the nail where the thickest part of the letter hits the wood)
Step 2: Remove your letters and hammer your nails into the places you marked.
Step 3: Once you have hammered in all the nails remove each one and stick them through on the opposite side of the wood (this allows you to not have to do everything in reverse. Believe me it is much easier if you are using nails and not wood glue. (If using wood glue then just glue each letter in place.)
Step 4: Once each nail has surfaced through the top side of the wood place the letter on the nail and hammer the nail through the wood and into the letter. In order to do this you may have to set up a sturdy little table that allows strong foundations under each end of your wood with a space in the middle which allows for your letter to sit with even pressure on the top (don’t use a finger or something small as it is likely to snap your wood – especially the S.)
Step 5: Once each letter is securely in place- either with nails or with completely dry wood glue, paint your piece. I used spray paint, it is nice and easy for intricate letters and less mess if you do it outside. If spray painting make sure you turn your piece so that each side of each letter is painted.
Step 6: After you have painted your piece (1-2 coats should do), secure your snowflake. My snowflake was glued (could have been nailed too) to the back of my w by the little eyehook that was on the top (it was made to be an ornament.) If a nail would work best do what was done in steps 2 & 3, otherwise a little wood glue or a glue gun should work just fine!
Step 7: Put it on your mantle or anywhere it will gain the oohs and ahhs of visitors!
I love that this project was so quick and simple. With just a few minutes of work and a small amount of waiting for it to dry, this project was short and sweet. It’s cute and simple and fulfills my need to create something for my home. So go make your own and LET IT SNOW!
