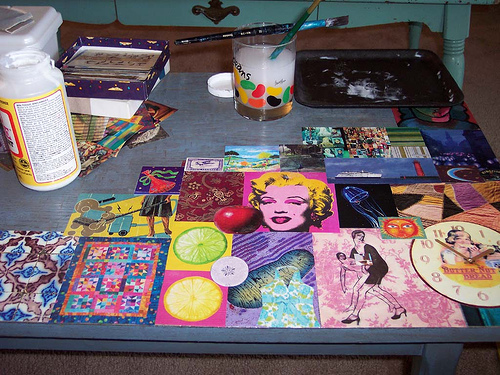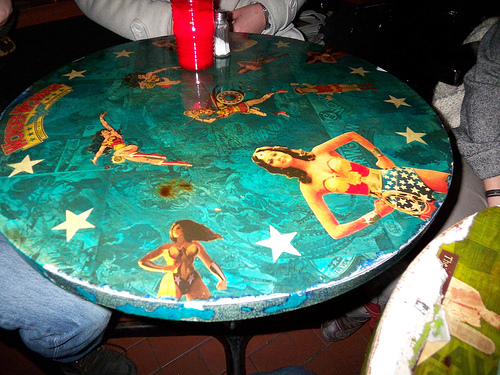
Decoupage is a wonderful DIY project that allows you to make personal-looking furniture that has your unique fingerprint all over it. If you don’t know what decoupage is, think of it as a collage for your furniture.
The word “decoupage” comes from a French word, decouper, which translates roughly as “cutting.” The results of this technique are eclectic, as colorful as you want and always 100%
unique.
You might think that working with furniture is a bit more difficult than what you’re used to, but don’t be scared. Once you know how, decoupage is a lot easier than you might think.
1) Choose the Right Furniture
In the most general terms, this means solid wood furniture. This will allow the
varnish to really set, and the contrast between the areas you cover and those you don’t will really pop.
Nothing is as exciting as seeing the interaction between old and new that decoupage on wood furniture provides.
2) Gather Your Materials
There are a few things you will definitely need. The first, of course, is the paper.
Any paper clipping will do. If you like a graphic look, gather old newspaper
headlines. If you like a colorful look, use colored paper scraps. If you are a bit more adventurous and creative, cut up a magazine, a picture book, or some wallpaper. You don’t have to limit yourself to paper, though. You can use squares of patterned fabric or any other material you like.
You will also need a glue of some sort. You can get decoupage glue at any craft
store. Alternatively, you can use Elmer’s brand glue, Mod Podge, or a clear acrylic gel. Make sure you have enough to cover the entire surface of your furniture with liberal applications.
You will also need foam brushes and pain brushes to lay down the glue. Popsicle sticks or a brayer will help you to smooth out your applications and get air bubbles out.
To top it all off, you’ll need some polyurethane varnish for a shiny and durable
topcoat.
3) Lay It All Down!
This is the best part. It’s easy and time just flies while you’re doing it. After you have decided on a general look for your decoupage design, start gluing your paper down on the furniture.
Don’t be scared! There are no mistakes. If you don’t like something, just cover it up with another layer. This is the creative part and you should approach it with joy and gusto.
4) Finish Your Masterpiece
Once you have your decoupage looking just right, let it dry. This is the hardest
part. You need to be patient because this can take a while. Once you’re sure that everything is dry, just lay down a coat of varnish and voila! Your masterpiece is done.
Adrienne is a crafty blogger in her late 20s who loves writing about everything from social media to gardening. Follow her on Twitter @adrienneerin to read more of her work.


Cassie says
Eventually I’ll do this, I’ve never decoupaged anything but have wanted to for yearsssss, not sure why I still haven’t 🙂
I even got a used ikea desk with plans to do this to it. Not real wood but still.